

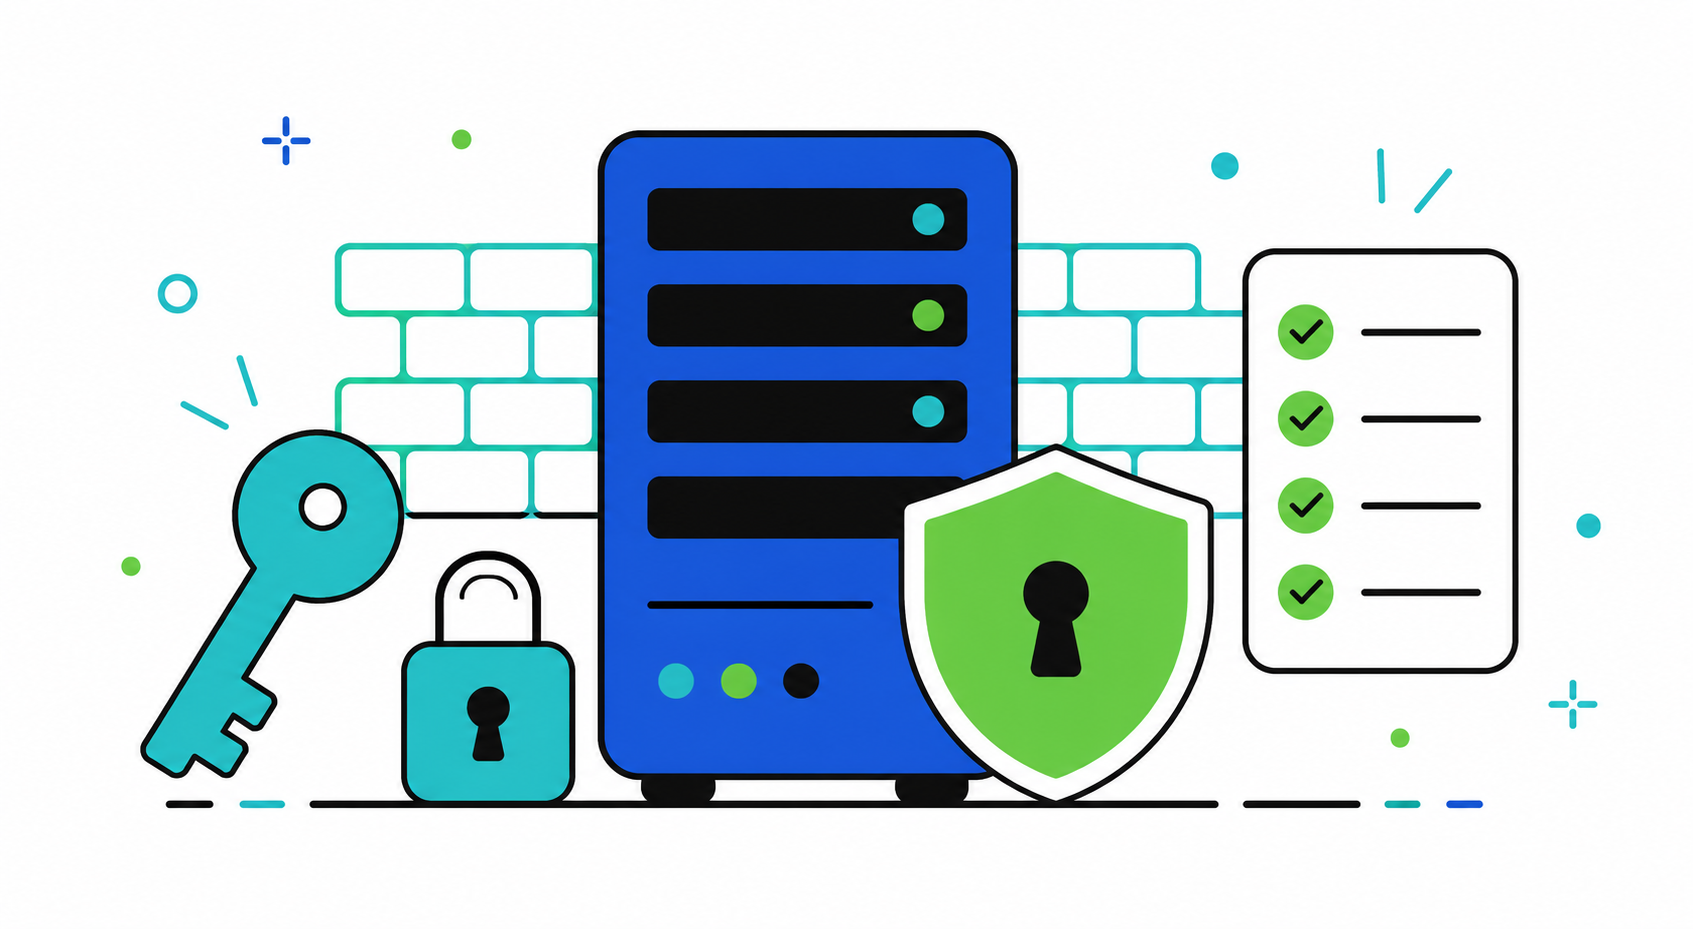
When you order a VDS at Cybeward, the machine is created in a couple of minutes and is immediately reachable over SSH. That’s convenient — and at the same time the moment of greatest risk: bots scan port 22 continuously and start guessing the root password within the first minutes. The good news is that you can close the main attack vectors in a single sitting.
All commands below are run on a fresh Ubuntu/Debian system. For other distributions, only the package manager and the firewall service name differ.
1. SSH keys instead of a password
Password authentication is the prime target for brute-forcing. Replace it with keys. On your own machine, generate a pair (if you don’t have one yet) and copy the public key to the server:
# create a key (Ed25519 — fast and reliable)
$ ssh-keygen -t ed25519 -C "me@cybeward"

# copy the public key to the server
$ ssh-copy-id root@203.0.113.10
Now disable password login. Open /etc/ssh/sshd_config and set:
PasswordAuthentication no
PermitRootLogin prohibit-password
PubkeyAuthentication yes
Restart the service with systemctl restart ssh. Do not close your current session until you’ve verified login in a new window — otherwise you risk locking yourself out.
Tip. Keep a parallel SSH session open and take a snapshot before the changes — in Cybeward you can roll back in one click.
2. A separate user instead of root
Doing everyday work as root is dangerous: any mistake or compromised process gets full access. Create a regular user with sudo privileges:
$ adduser deploy
$ usermod -aG sudo deploy
# move the key over so you log in as the new user right away
$ rsync --archive ~/.ssh /home/deploy/ && chown -R deploy: /home/deploy/.ssh
3. Firewall: open only what you need
By default, more services than necessary may be facing outward. Enable ufw and leave only SSH, HTTP, and HTTPS:
$ ufw default deny incoming
$ ufw default allow outgoing
$ ufw allow OpenSSH
$ ufw allow 80,443/tcp
$ ufw enable
A good firewall is a list of what’s allowed, not a list of what’s forbidden.
Cybeward’s baseline DDoS protection up to 10 Gbit/s on the network works before traffic ever reaches your ufw — but the filter on the server itself remains your second line of defense.
How to check what’s visible from outside
Compare expectation with reality — scan the machine from the outside:
4. Automatic security updates
Most breaches exploit long-known vulnerabilities. Enable automatic installation of security updates:
$ apt install unattended-upgrades
$ dpkg-reconfigure --priority=low unattended-upgrades
Final checklist
If it all took about fifteen minutes — you did everything right. Before you install your application, make sure every item is covered:
- Password login is disabled, only the SSH key works
- A user with
sudois created, direct root login is forbidden - The firewall is on, only the needed ports are open
- Automatic security updates are active
- A snapshot of the "clean" server state has been taken
From here you can deploy your stack with peace of mind. Backups and snapshots deserve their own guide.